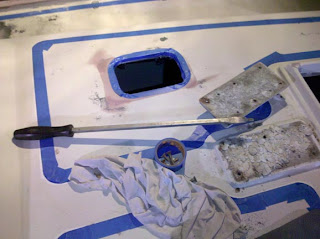
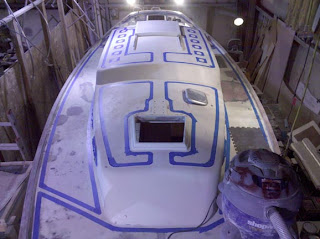
We are waiting for supplies to arrive before we can continue with the cabin top so we moved on to the topsides for a few days.
There is multiple layers of fairing compound near the hull and deck joint. As each is a slightly different color it created a camo pattern making it hard to visually see the fairness of the hull. It was a good time to apply a couple coats of two part epoxy paint so its a more uniform color. We sanded the hull with 220 grit as directed by the paint manufacturer and wiped it down.
We purchased two rolls of pre-taped plastic from our local Lowes home improvement center. The roll is about a foot long with the tape attached along the edge for the entire 100 foot length of the roll. We applied the tape to the hull (to protect the bottom paint) unrolling it as we went. The thin plastic sheet was then opened making it two feet wide, then opened again for its full four foot width. I really like this stuff, it costs about eight bucks a roll and uses a good quality blue tape. It makes it very easy to protect the hull from drips and overspray.
We used the second roll on deck, adhering it to the top of the cap rail and opening it towards the center line of the vessel to protect the deck and cockpit. Smaller sections were added as required to completely cover the deck. The plastic was left very slack along the starboard side deck so we could still use it as a walkway.
I applied one very thin coat of paint with the HVLP sprayer, thinning it as directed by the paint manufacturer.
I had done a little more practicing with the gun and had adjusted it to a finer mist than before and really focused on keeping the gun at a constant distance from the hull. The nozzle can be adjusted so that the spray is narrow and vertical, narrow and horizontal, or adjusted anywhere between the two reducing the width and making it wider and into a circle. They suggested not using the circle unless required to get around objects.
The air hose supplied with the gun is twelve feet long so I worked along ten foot sections of the hull before pausing to relocate the air pump. The nozzle was set up for the narrow vertical pattern and I started at the deck making rows of passes fore and aft descending towards the waterline with each pass.
The nozzle was then adjusted to the narrow horizontal pattern and the area was covered again working from the bow aft in vertical rows until the ten foot section had a nice even coat, or so I hoped.
A pause to relocate the air pump and the process was repeated time and again until I had gone right around the boat. It would have been easier if the air pump had come equipped with a longer hose or if I had a helper to hold the pump and move with me as I worked. Hmmm, perhaps I can mount it on wheels like a shop vac and pull it around, I'll have to give that some thought.
The next day the topsides were sanded and wiped and the process repeated and a second coat applied.
Now the fairing of the deck joint can be more easily seen and we can adjust it as required and then apply two more coats of epoxy paint.
Deck tented


