Sunday, December 18, 2011

Old Rivets

I like to walk the deck before every sail and set my eyes on all the pins, buckles, etc.... pull the rigging wires in little circles, testing how much play they have.... make sure shes sound before heading out. As I was inspecting the mast base I set my eyes on the boom and noticed one of the rivets that fastened the boom to the goose neck was tweaked a little sideways. I inspected the rest and was shocked to see that three of the five rivet heads were gone! That left just one intact rivet and the tweaked one holding it together...not good!
How did I miss this on previous deck-walks! It was a reminder to take my time and be thorough in the inspections. I inspected the other rivets on the boom and the heads looked good but we decided to replace em all to be safe. Jeff and I spent the evening replacing the rivets at both ends of the boom. Even though the aft end looked good I would never trust it without pulling it apart and inspecting it for corrosion etc.

After that I looked up the mast at the long row of rivets fastening the sail track.  I hope I don't have to replace all of those!
Today I broke out my assender setup and inched myself up the mast a foot at a time on a special rock climbing rope. I wanted to inspect the rest of the rivets and fittings up the mast, if some of the forty year old rivets were bad.....what of the rest?
I got to the spreaders and immediately spotted some problems. The top rivets securing the port spreader plate had failed and the plate was separating from the mast. the starboard side looked intact but a thin gap that was not there before was evidence they were stretching out and needed replacing.
I swung around to the sail track and spotted six rivets with heads missing.
Ok.....a major rivet refit is required before sailing!
I descended on the grigri to the deck....no sailing tomorrow as planned......sigh.
If you have a "classic plastic" vessel with old rivets be sure to inspect them before every sail for potential problems. When things go bad under load it can really ruin ones day!

Saturday, November 26, 2011

The Dog House

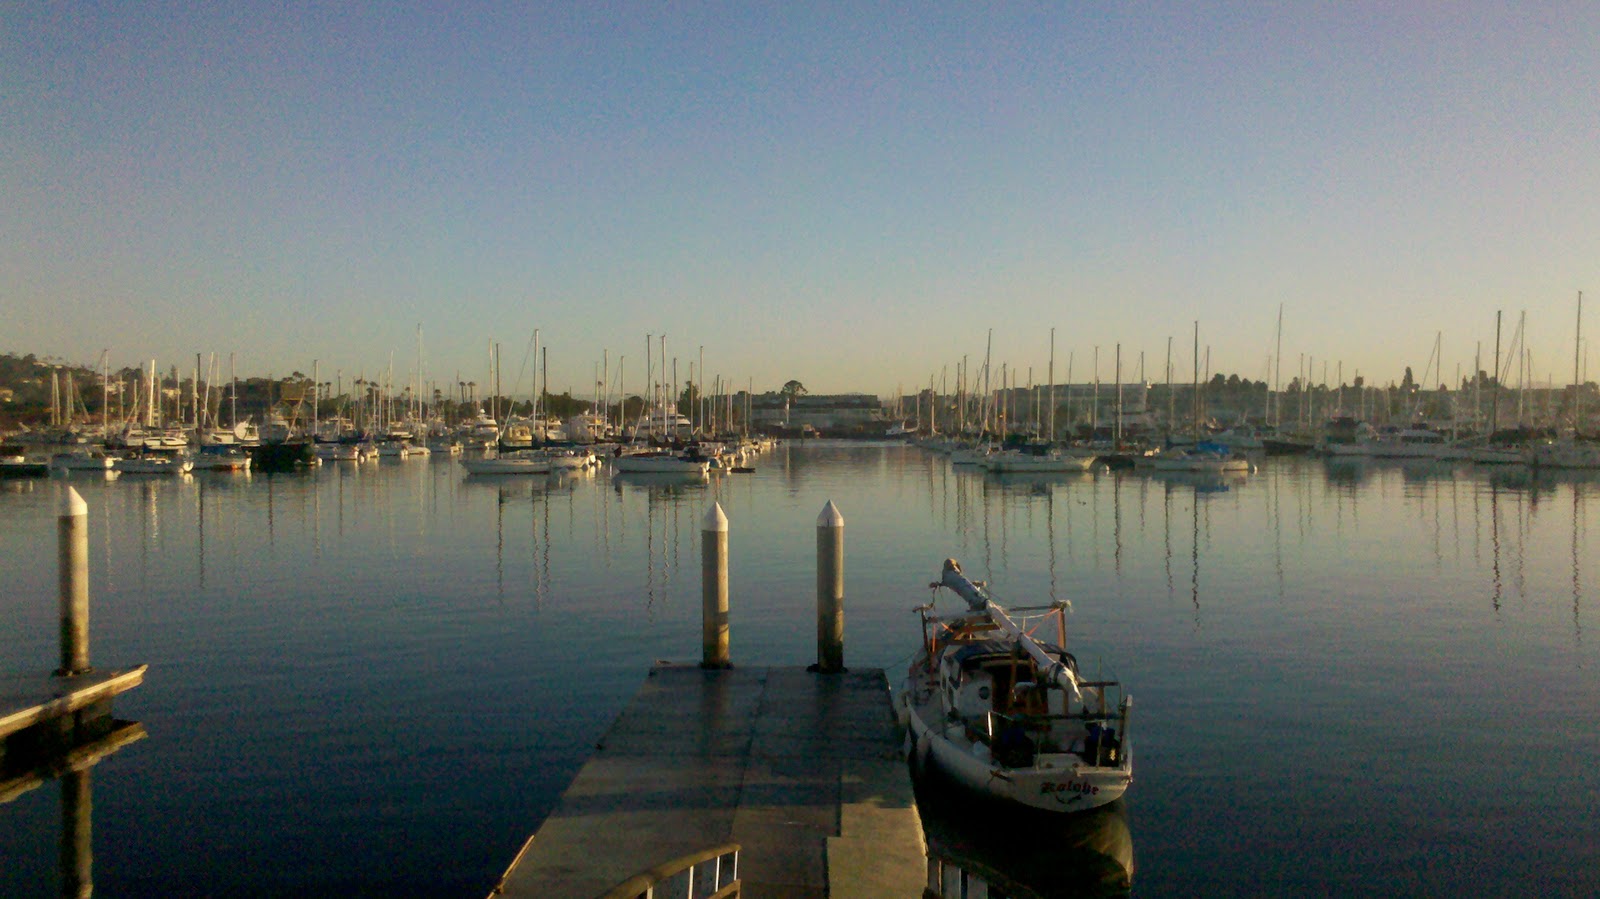
I was planning to live on the boat in Hawaii but when the Marina heard I had a dog it was clear that Goldie was not welcome. Non-live-aboards are allowed to sleep aboard for three nights a week and they said she was welcome aboard as long as I didn't spend that fourth night....if I did we would both have to go!
So we had a place to live .....er......visit......for three nights a week. Now what to do for the other four nights of the week? I didn't want to pay the going rate of $1,600 per month for a no frills studio apartment for only four nights a week.
I looked on Craigslist for a camper to put on the truck and was not surprised to find they don't exist in Hawaii.
I had never seen one on the road here. Oh sure they have lots of campers listed....but they are what we from the mainland call a "canopy". Here a canopy is a fabric beach shelter.....a camper shell goes on the truck. So I decided I would knock out a cheap, simple camper made of plywood, similar to the one I had on the mainland but without the appliances etc.
The boat would be used for daily living, I mean.....visiting.....not living.......and the camper would  be a place to "live" four nights a week. The camper would be a perfect doghouse for Goldie to hang out in when I'm working. Heavily insulated to keep the sun off with plenty of ventilation.

Jeff asked what the plan was.
Plan? I said. I plan to build a camper.
"But how, whats the plan?"
No plan, gonna wing it, start from the base and add whatever seems to work as it takes shape.
Ok,... sounds good, he said. With a healthy dose of scepticizm in his tone.

I thought we'd start with 1/2 inch plywood for the floor and seats and go from there.
I bought a bunch of 2x2's to use as framing and several sheets of plywood and some glue, screws, etc. I decided on 2x2's for framing to allow 1-1/2" of foam insulation to keep her cool inside.
The added weight of the wood was no problem as the rig would not have the weight of appliances and water / holding tanks that a regular camper has.
The base (floor and up to the seats), front, back, and bed platform over the cab, would be built with 1/2 inch plywood. The sides and roof would be thin 5mm plywood.

Jeff had to work so I drove to a remote beach park & local tent camping place and started the project.
I built from the floor up to the seats and was pleased with the results.
Plenty of people came by to have a look and ask what I was building.
A camper, I replied.
Ah, oh, I see,...they said, clearing not understanding what a camper was.
Very few people knew what a camper was or looked like. This was a remote "locals" beach park and few tourists or haole's (what the locals call white folks) made it here.
After tiring of repeating the explanation over and over I decided to just call it "the doghouse".
Yup, building a doghouse for her (pointing at Goldie) so she has a place to hang out when we go snorkeling, working, etc.
"ahhh cool.....lucky dog! most said. As it took shape some added "hey you could use it for camping to you know, would be perfect for it!" I smiled and agreed.

It started to rain and I drove to the local Home Depot store where they had covered parking and continued to build. We went to the beach park to build when we needed to make dust or paint, and stayed under the covered parking the rest of the time. The staff at Home Depot got to know us well and always had kind works of encouragement as it took shape in their parking lot.
It was handy to have a fully stocked hardware / lumber store a few steps away.
Every item we used was bought from them, from wood to tools. If they didn't mind me building it there I certainly didn't mind buying all the supplies from them.

Jeff helped often, spending his days off and mornings helping me. It would have been very difficult to erect the walls and square up the frame without his help. I am grateful, thanks Jeff!

A white elastomeric roofing compound was rolled on the roof and their special 4" wide polyester fabric was used over the seams and edges as a solution to the expansion and contraction problems at the joints. It worked well and the white color helps reflect the heat.

We put in 48 x 12 inch opening double pane windows in the sides. Petty theft is a huge problem here and we kept the windows narrow to reduce the temptation to break them and try and crawl thru. The back of the camper has a narrow sliding door reinforced with steel backing behind the tracks so that it cant be kicked in. A steel plate will be added at the bottom on the outside so it can't be pulled or pried out. Two large barrel bolts fasten the door from inside. Both have locks on them. It would be very difficult to get at the locks and impossible to get cutters or pry-bars on em. It is as secure as I can make it.
Its a long way from finished but is well under way now. There will be some fill and fairing later when I have access to power at a future date. It was built with hand saws and a cordless drill. Near the end we also used a cordless sawzall which helped speed up the process.

 The start!
The Floor

Building at the beach park

Ships come and go while I build

Raining, take cover!

 1/2" plywood foundation done


Painting and walls going up

Jeff, head shaved for Halloween, he was "Mr Clean"


Goldie enjoying the temporary Lanai

Roughing in the forward bunk


Goldie enjoys the trades blowing through

Closing it in
Roof coating applied

first of many coats of paint


roughing in the windows

Windows in

slide up door


Sunday, November 20, 2011

Making The Break

Well I have finally made the break and moved to Hawaii to live.
1983 was the first time I came thru here and fell in love with the place and I've been hoping to move here ever since. Twenty-eight years later I've finally done it!

I left Idaho happy to be heading for Hawaii, but with the sadness of leaving loved ones in Idaho.
Every once in a while we meet someone that goes above-and-beyond and really makes a difference in our lives. In Idaho that person was Gary Dawes.
I immigrated from Canada and when I got my work visa Gary's company Expert Marine Technology was the first place I applied for a job. He hired me and over the last ten years I had the privilege of working for him. I had never worked for a company that put so much effort into looking after employees. Gary often said his employees were family, and he meant it.
His rules were easy to follow; "if you make a mistake say so, a person will never be fired for making a mistake no matter how bad it is. No one comes to work intending to break sh**."
If you asked for a day off you got it, no matter how badly he may need you that day, he always found a way to make it work for his employees. We got a lot of three day weekends when we needed them.

My first month working for him he heard of a sailboat going for a really good price and told me about it. As a new immigrant money was tight, the immigration attorneys had taken it all "helping" us through the process. He bought the boat for me and told me to make payments on it as I could and if I sold it for a profit we'd split the profit. When I finally sold that boat I had made a couple of grand profit and handed him his half. He refused it and told me to put it down on the house we were trying to move into, we had outgrown the apartment we were in.
We got the house and Gary rented a moving van and he and his son told me to stay outta the way as they moved all our furniture. My boss rented a truck and personally moved my furniture for me!
Eventually I became the General Manager of his business and was privy to the financial end of things. Our Business is seasonal and in the dead of winter, with the crew laid off for the season, I have seen him give his last hundred bucks to an employee who needed it.

I could go on and on as there was seldom a day that Gary didn't do something above and beyond for somebody.

If it was not for him I would not have this boat, I would not have had the house, the previous boat, etc etc etc. He's a great man and I really miss him.
Thank you Gary for all you've done.

Monday, April 11, 2011

Arrived Hilo

We arrived at Hilo March 23rd at nine-thirty pm.

The Seas had been running extremely high and blowing strong for the last ten days with no letting up.

We got twenty miles from Hilo and it died to light airs then no airs as we neared the bay.

We go from a triple reefed main (equivalent rolled up) only to full main and genny in less than an hour.

We had been on only the shortened main for the last three days.

I had been in Hilo before so entered in the dark, ghosting eerily thru the inky blackness at four knots with no wake in no waves on the inside of the mile long breakwater.

We sailed right into the gap at Radio bay then dropped sails, and payed out the stern anchor and used a little burst of electric power right at the end to set the anchor and put the bow on the sea-wall. ......we arrived!

Our neighbors were surprised to see us in the morning.....its fun being electric, we sneak in silently in the darkness.


The trip was fantastic!

We sailed off Mexico, between the Coronado islands, beating south with the wind on the nose.

Ran into a gale day three and four off the Guadeloupe Island and got hammered good in forty plus knots and 18 foot seas (according to the radio).

Every-time we went on deck we got soaked and hammered in the rain and spray and waves washing the foredeck.

We had the main down to nothin and the jib up managing kinda a beam / close reach doing a neat climb up the wave and pivot at the top and down the other side with the wind vane steering well thru it even though the waves tried hard to pound her off course often.

She was quite comfortable and I knew she would do well.

At some point well into the night the jib blew out.

I turned west in the morning and headed for the high and more settled weather.

The winds abated slowly all that day and the next day we found the high and were coasting along at three and four knots in calm seas under sunny skies.

At night the stars came out and we darkened the boat and sat in the cockpit for some stargazing.

The stars are amazing at night under the high..,...billions and billions of em! right down to the horizon.

I took the boat hook and made figure eights in the calm water and it trailed green sparks in the bio-luminescence. It was stunningly beautiful.

After a few days we turned south to seek the trades.

We found strong winds from then on and reduced the main to our "triple" reef and left it there for the remainder of the voyage until we reached Hilo.

After a day we dropped the main and sailed under a poled out Genny for almost the rest of the trip and that was all she needed.

The odd day that was lighter airs and she dropped to three knots I put up the second Genny I had brought from the salvaged O-day. I sewed the hanks from the destroyed jib onto it and put it on the same fore-stay with the A-30 genny and sailed wing and wing.

The pole was to light and dipped the water and bent, we splinted it and sailed on.

Six days out from Hilo it failed in a new place, we retired the pole and used the boom as a reaching pole.

Five days out from Hilo the wind vane failed, the whole rudder assembly let go. The bottom pin had sheared.

It had done better than any vane I had ever owned, sigh.

I hauled the mess aboard and we steered for the last five days.

Four days out the tiller snapped off with a loud crack as the boat was pushed off course by a very large wave. I hove too for the night so we could sleep.

In the morning I installed the spare original tiller I had brought along and we sailed on.

Five days later here we are in Hilo! YAY!!!!!

We caught five mahi Mahi on the trip and had a great run.

26 days 15 hours to sail 2,776 nautical mile.

I spent a week in Hilo resting and repairing.

My stepson flew down and sailed the boat to Oahu with me in light to moderate airs.

We had a great show leaving Hilo when several Humpback wales entered the bay and started spy-hopping and slapping the surface with their fins.
The boat is safely moored in Honolulu now in one of the few slips in our marina that was not washed away and destroyed by the tsunami.

Thursday, February 24, 2011

Here we go

Well the day is finally here! Its five am and we are getting ready to sail for hawaii. Within the hour. Sorry for not including pictures....I am writing this from my droid phone and it will only let me write the blog in HTML mode so its a little tough.
The windvane we made is working well and sea trails went incredibly well, this boat likes to sail!
We have to head south for five or six hundred miles to drop below the high before turning west for hawaii.
We will see how the fishing is off mexico!
Thanks again to you all for the help, advise, and support.....it made the project go so much more smoothly.

The crew is ready and Kolohe Is tugging gently on her dock lines wanting to be set free .......

Wednesday, February 16, 2011

Wrapped and rolling

The mast was wrapped with thin foam and the rigging secured to it and then wrapped with plastic stretch wrap.
Then it was loaded atop the boat and the vessel was shrink wrapped for the long haul to San Diego.
It was an uneventful three day run down to San Diego though she did draw a quite a few looks and she rolled onwards dwarfing the truck. She looked huge shrink wrapped.
The following day the boatyard lifted her gently off the trailer and lowered her into the water.
Four years building and she was finally floating! It was an incredible day and an amazing four years!
There are so many people that helped along the way and I am forever grateful for the  help and encouragement to git-er-done! I could not have done it without you all! Thank you thank you thank you!!

Rigging

We took down the wall and moved the boat to the middle of the shop for loading.
The trailer was backed in and the yardarm jacks were used to lift the cradle onto the trailer.
We pulled the boat outside for the first time in several years and rented a lift to put the mast up and rig her.
It was the coldest and windiest day of the winter thus far. We froze and tried to keep our fingers moving as we hung on to the freezing stainless wire and fittings. It took us all day with a few breaks to get warmed up but we got her rigged with all new 316 wire and stayloc compression fittings. Then we took it all down and moved her back inside the heated shop.


Dodger

With the launch date drawing near I put the hard dodger project on hold and asked Jerry at Mariners Canvas if he could put together a temporary cover over the companionway hatch.....nothing fancy, just something temporary. He and his assistant Justin came by to have a look and Jerry said he could put something together for me that would make do.
He suggested a temporary cover would probably be aluminum with plastic fittings to keep the cost down for me.
They stopped by while I was out fetching parts and put up the frame for it. When I got back I was amazed to see a beautiful frame out of one inch stainless with robust stainless fittings instead of plastic. Jerry smiled "Justin and I got talking about the conditions you may encounter and felt we should use one inch tubing and all stainless fittings. Its such a small dodger we have some offcuts we can use to keep the cost in line"
I was so damn happy! She was getting a stout dodger after all.
Jerry said it would be strong enough to sleep on and we tested it by anchoring a hammock to it and it didn't mind it one bit.
Thank you Jerry and Justin for a job above and beyond what I had asked for!

12/14/2011
Many folks have emailed and asked how to get in touch with Jerry, here is his contact info;
Jerry Holmes
Mariners Canvas
(208) 667-1903
 715 E Harrison Ave,
Coeur D'Alene, ID 83814


motor

For an engine we decided to go electric.
After doing some homework online we contacted Thunderstruck electric and ordered their brushless electric motor kit for sailboats.
The folks at thunderstruck were fantastic to deal with. They spent a lot of time explaining the system and what was best for our application. Their after sales service was first class and I was very impressed with this company.
The installation was very straightforward and went very smoothly.
Gary fabricated a custom motor mount out of half inch thick aluminum plate and mounted the motor to it at the top and two bearings at the bottom to prevent side loads on the drive-line.
A two to one gear ratio and idler was used along with a toothed drive belt.
The motor controller was installed behind the engine on the bulkhead and a drip-less coupler on the propeller shaft completed the installation.