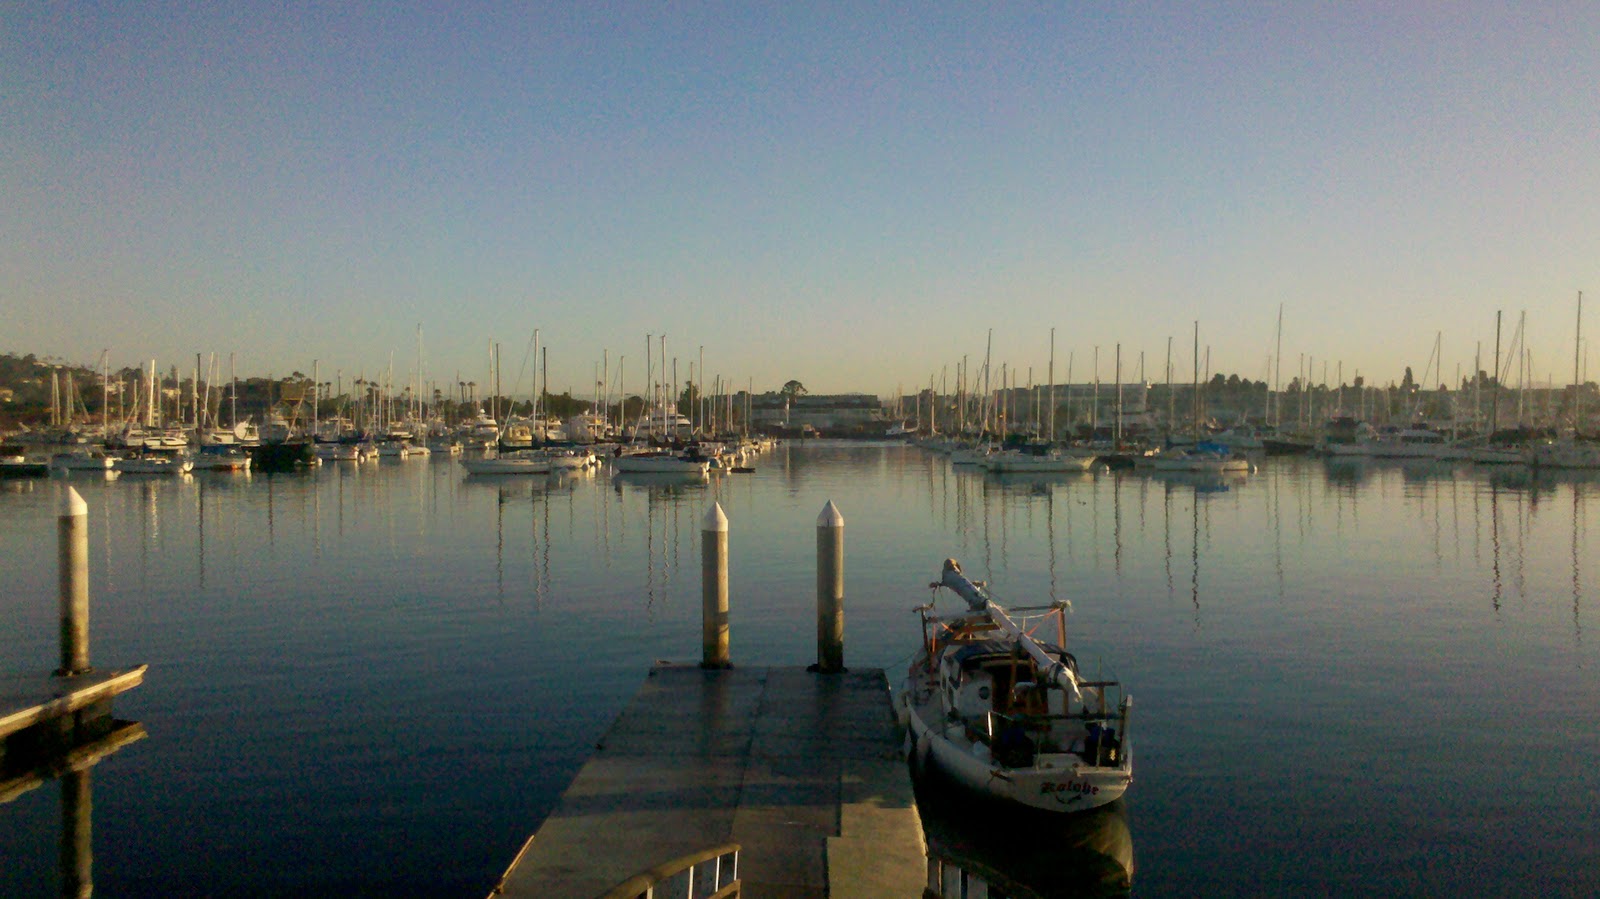
Well the day is finally here! Its five am and we are getting ready to sail for hawaii. Within the hour. Sorry for not including pictures....I am writing this from my droid phone and it will only let me write the blog in HTML mode so its a little tough.
The windvane we made is working well and sea trails went incredibly well, this boat likes to sail!
We have to head south for five or six hundred miles to drop below the high before turning west for hawaii.
We will see how the fishing is off mexico!
Thanks again to you all for the help, advise, and support.....it made the project go so much more smoothly.
The crew is ready and Kolohe Is tugging gently on her dock lines wanting to be set free .......
Thursday, February 24, 2011
Wednesday, February 16, 2011
Wrapped and rolling
The mast was wrapped with thin foam and the rigging secured to it and then wrapped with plastic stretch wrap.
Then it was loaded atop the boat and the vessel was shrink wrapped for the long haul to San Diego.
It was an uneventful three day run down to San Diego though she did draw a quite a few looks and she rolled onwards dwarfing the truck. She looked huge shrink wrapped.
The following day the boatyard lifted her gently off the trailer and lowered her into the water.
Four years building and she was finally floating! It was an incredible day and an amazing four years!
There are so many people that helped along the way and I am forever grateful for the help and encouragement to git-er-done! I could not have done it without you all! Thank you thank you thank you!!


Rigging
We took down the wall and moved the boat to the middle of the shop for loading.
The trailer was backed in and the yardarm jacks were used to lift the cradle onto the trailer.
We pulled the boat outside for the first time in several years and rented a lift to put the mast up and rig her.
It was the coldest and windiest day of the winter thus far. We froze and tried to keep our fingers moving as we hung on to the freezing stainless wire and fittings. It took us all day with a few breaks to get warmed up but we got her rigged with all new 316 wire and stayloc compression fittings. Then we took it all down and moved her back inside the heated shop.


Dodger
With the launch date drawing near I put the hard dodger project on hold and asked Jerry at Mariners Canvas if he could put together a temporary cover over the companionway hatch.....nothing fancy, just something temporary. He and his assistant Justin came by to have a look and Jerry said he could put something together for me that would make do.
He suggested a temporary cover would probably be aluminum with plastic fittings to keep the cost down for me.
They stopped by while I was out fetching parts and put up the frame for it. When I got back I was amazed to see a beautiful frame out of one inch stainless with robust stainless fittings instead of plastic. Jerry smiled "Justin and I got talking about the conditions you may encounter and felt we should use one inch tubing and all stainless fittings. Its such a small dodger we have some offcuts we can use to keep the cost in line"
I was so damn happy! She was getting a stout dodger after all.
Jerry said it would be strong enough to sleep on and we tested it by anchoring a hammock to it and it didn't mind it one bit.
Thank you Jerry and Justin for a job above and beyond what I had asked for!
12/14/2011
Many folks have emailed and asked how to get in touch with Jerry, here is his contact info;
Jerry Holmes
Mariners Canvas
(208) 667-1903
715 E Harrison Ave,
Coeur D'Alene, ID 83814
12/14/2011
Many folks have emailed and asked how to get in touch with Jerry, here is his contact info;
Jerry Holmes
Mariners Canvas
(208) 667-1903
715 E Harrison Ave,
Coeur D'Alene, ID 83814


motor
After doing some homework online we contacted Thunderstruck electric and ordered their brushless electric motor kit for sailboats.
The folks at thunderstruck were fantastic to deal with. They spent a lot of time explaining the system and what was best for our application. Their after sales service was first class and I was very impressed with this company.
The installation was very straightforward and went very smoothly.
Gary fabricated a custom motor mount out of half inch thick aluminum plate and mounted the motor to it at the top and two bearings at the bottom to prevent side loads on the drive-line.
A two to one gear ratio and idler was used along with a toothed drive belt.
The motor controller was installed behind the engine on the bulkhead and a drip-less coupler on the propeller shaft completed the installation.


Subscribe to:
Comments (Atom)


